
The pursuit of creating the quintessential IHOP-style buttermilk pancake at home presents an intriguing culinary challenge.
By carefully balancing ingredients such as all-purpose flour and buttermilk, one can achieve a texture that is simultaneously light and fluffy, reminiscent of the cherished diner experience.
However, the nuances in preparation and cooking techniques can greatly influence the final outcome.
Ingredients Overview
When preparing to create homemade IHOP-style buttermilk pancakes, understanding the essential ingredients is crucial for achieving that fluffy, satisfying texture reminiscent of your favorite diner.
The foundation begins with flour types; opt for all-purpose flour for a classic approach, or experiment with whole wheat or gluten-free alternatives to cater to diverse dietary needs.
Each flour type brings a unique flavor and texture, opening avenues for pancake variations that can tantalize your taste buds.
Incorporating ingredients such as baking powder and baking soda helps create that light, airy structure, while buttermilk adds a rich tanginess that elevates the flavor.
IHOP-Style Buttermilk Pancakes
Ingredients:
- 2 cups all-purpose flour
- 2 teaspoons baking powder
- 1/2 teaspoon baking soda
- 1/4 teaspoon salt
- 2 cups buttermilk
- 2 large eggs
- 1/4 cup melted butter, cooled
- 2 tablespoons sugar
- 1 teaspoon vanilla extract (optional)
Instructions:
Preparing the Batter:
- In a large bowl, whisk together flour, baking powder, baking soda, and salt.
- In a separate bowl, whisk buttermilk, eggs, melted butter, sugar, and vanilla (if using) until smooth.
- Gradually pour the wet ingredients into the dry ingredients, gently folding until just combined. Some small lumps are okay; avoid overmixing.
- Let the batter rest for 5-10 minutes while you heat the skillet.
Cooking the Pancakes:
- Heat a non-stick skillet or griddle over medium heat.
- Lightly grease the surface with butter or oil.
- For each pancake, pour about 1/3 cup of batter onto the skillet.
- Cook until bubbles form on the surface and edges start to look dry (about 2-3 minutes).
- Flip and cook the other side for another 1-2 minutes, or until golden brown.
- Repeat with remaining batter.
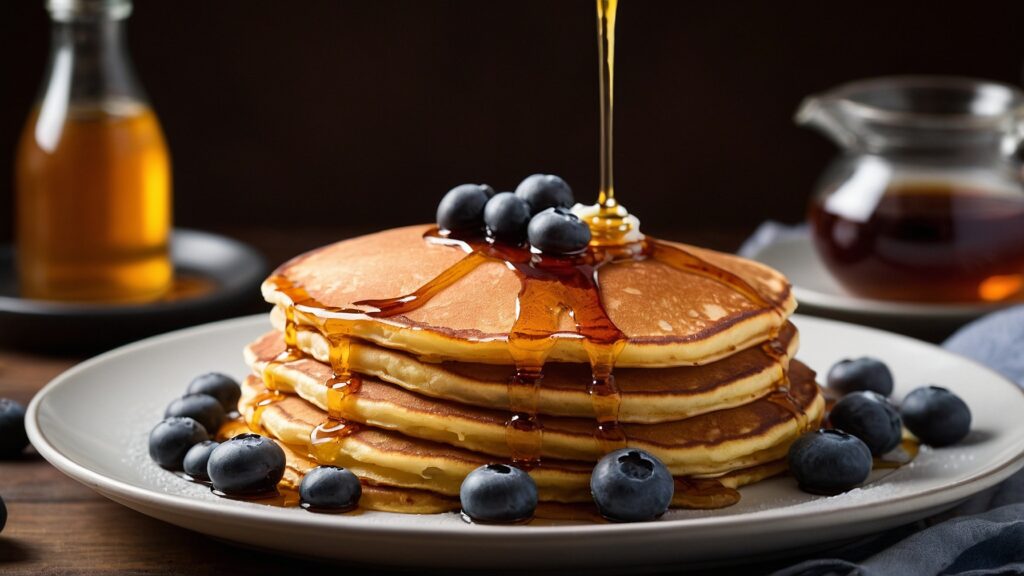
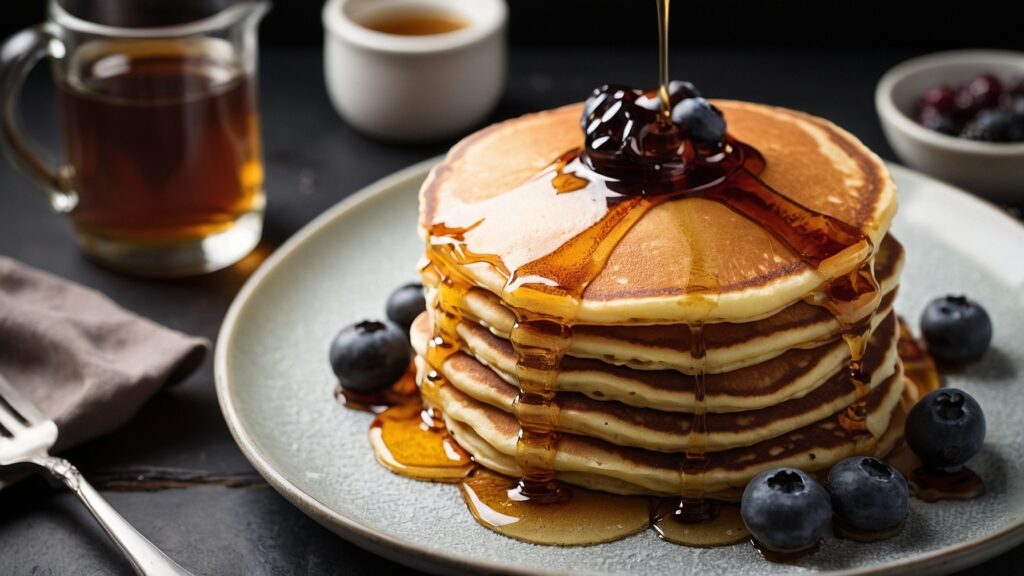
Serving Suggestions:
- Serve warm with butter and maple syrup.
- Top with fresh berries and whipped cream for a fruity twist.
- Add chocolate chips and sliced bananas for a sweet variation.
- Sprinkle with candied nuts for a crunchy texture.
Buttermilk Substitute:
If you don’t have buttermilk, mix 2 cups of milk with 2 tablespoons of white vinegar or lemon juice. Let it sit for 5 minutes before using.
Preparing the Batter
Having gathered your ingredients, the next step is to prepare the batter, a process that is both straightforward and rewarding.
Begin by combining the dry ingredients—flour, baking powder, baking soda, and salt—in a large bowl, ensuring an even distribution.
In a separate bowl, whisk together the wet ingredients: buttermilk, egg, and melted butter until smooth. This is where you can experiment with pancake variations, such as adding vanilla or cinnamon for a flavor twist.
Gradually incorporate the wet mixture into the dry ingredients, using gentle mixing techniques to avoid overworking the batter.
The goal is a lusciously thick consistency that promises fluffiness upon cooking.
Cooking the Pancakes
The skillet sizzles as it warms, a promising sound that signals the start of cooking your fluffy buttermilk pancakes.
Once the cooking temperature reaches medium, carefully ladle 1/3 cup of batter into the skillet, watching as it spreads into a perfect circle. The edges will begin to set while bubbles form on the surface, a cue for pancake flipping.
When the bubbles pop, it’s time to gently turn the pancake with a swift motion, revealing a golden-brown underside. Allow it to cook for another minute, ensuring it’s cooked through and fluffy.
Each flip reveals the artistry in your cooking, transforming simple ingredients into a delightful breakfast that rivals any diner’s offering, inviting everyone to savor the moment.
Serving Suggestions
How can you elevate your buttermilk pancakes from delicious to unforgettable? By embracing innovative topping options and serving styles that tantalize the senses.
Consider the following to transform your breakfast experience:
- Fresh Berries and Whipped Cream: A colorful burst of flavor and texture.
- Maple Syrup and Candied Nuts: A delightful crunch that pairs beautifully with the soft pancakes.
- Chocolate Chips and Bananas: A sweet twist that will appeal to both young and old alike.
These combinations not only enhance the visual appeal of your dish but also create layers of flavor that invite indulgence.
As you experiment with different toppings, don’t shy away from personalizing your servings to reflect your unique palate—making each bite a memorable one.
Buttermilk Substitutes
When preparing buttermilk pancakes, the absence of buttermilk shouldn’t deter you from achieving that signature fluffy texture and rich flavor. There are several innovative substitutes that can deliver the same delightful results.
For a quick fix, combine 1 tablespoon of white vinegar or lemon juice with milk, letting it sit for a few minutes to curdle.
Alternatively, blend milk with plain yogurt or sour cream for a creamy consistency that enhances the pancake benefits, such as tenderizing the batter and adding a subtle tang.
These alternatives make your pancakes just as delectable, especially when topped with your favorite pancake toppings like fresh fruit, syrup, or whipped cream, creating a breakfast experience that feels indulgent without the buttermilk.
Freezing Pancakes
Freezing pancakes not only extends their shelf life but also allows for the convenience of enjoying a delicious breakfast in minutes.
Imagine waking up to a variety of pancake flavors, ready to be transformed with your favorite topping combinations. The process is simple and rewarding:
- Place pancakes on a parchment-lined baking sheet, ensuring they don’t touch.
- Cover them with another sheet of parchment and freeze for a few hours.
- Once frozen, transfer them to a labeled freezer bag for easy storage.
This method preserves the fluffy texture and rich taste of your pancakes, making it easy to indulge in a warm breakfast anytime.
With a little creativity, your frozen pancakes become a canvas for delightful toppings, turning ordinary mornings into extraordinary moments.
Reheating Frozen Pancakes
After enjoying the convenience of freezing pancakes, the next step is to bring them back to life with a few simple reheating methods.
The oven method is excellent for preserving that fluffy texture; preheat to 350°F, cover your pancakes with foil, and bake for 10-15 minutes.
Alternatively, if time is of the essence, the microwave method offers a quick solution—heat a stack of frozen pancakes for 1.5 to 2 minutes, guaranteeing they are heated evenly.
To elevate your pancake experience, serve them warm with an array of delectable toppings, such as maple syrup, fresh berries, or whipped cream.
These reheating methods guarantee your pancakes taste as delightful as when they were first made, ready to impress at any breakfast table.
Storage Tips and Shelf Life
To guarantee your delicious pancakes maintain their quality and flavor, proper storage is essential. Following these freshness tips will help you savor every bite, even days later:
- Refrigerate: Store leftover pancakes in an airtight container in the fridge for up to 3 days.
- Freeze for Future Use: Layer pancakes with parchment paper, then freeze in a labeled bag for up to 1-2 months.
- Check for Quality: Before enjoying, inspect for any signs of freezer burn or off-flavors.